
Ah, the Orc Town GT. Crown jewel in the Northeast tournament circuit. Held at the Cape Cod Curling Club in Falmouth, MA, Orc Town is five big games of Kings of War (2665 points) on a surprisingly tight clock (69 minutes), but with amazing prize support, themed tables and great vibes. I had a banging first day in 2022 with my crabs and ended up with Best Sports, would I be able to repeat some of this success in 2023?
Find out in these especially sketchy recaps. Sorry, dead readers, this was almost a year ago and I was in a rough headspace that weekend due to life stuff that happened the week of. Which I suppose is more spoilers!
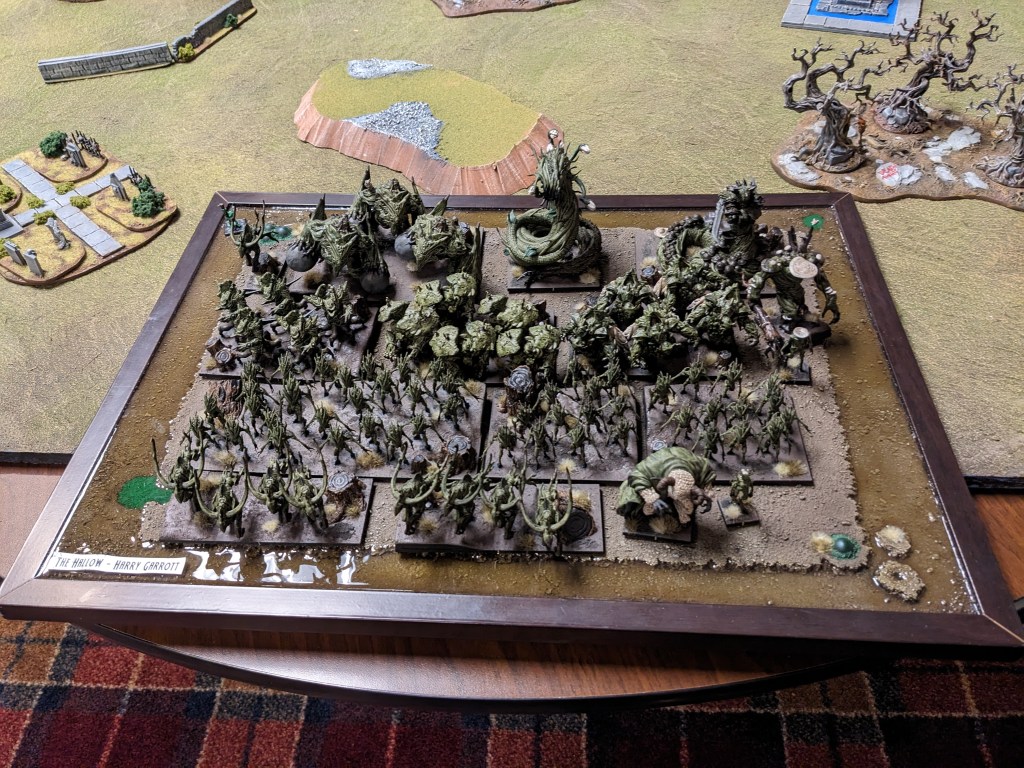
HERD 2665
Lycan Horde – Brew of Sharpness
Guardian Brute Horde
Guardian Brute Horde
Guardian Brute Horde
Minotaur Chariot Regiment – The Stampede [1]
Tribal Spears Horde – Chalice of Wrath
Tribal Spears Regiment
Tribal Spears Regiment
Centaur Bray Striders Troop
Centaur Bray Striders Troop
Hydra
Lycan Alpha – Wingbane Cloak
Great Chieftain – Horn of the Great Migration [1]
Druid – Conjurer’s Staff; Bane Chant (2), Heal (2)
Centaur Chief
Forest Warden – Surge (4)
16(29)
I talked about my list changes in the last post, but the summary is: Tribal infantry got spears, third Brute horde was windmill-slammed into the list, Hydra saw his first event outing. Wingbane Cloak drinking game is in effect (but you may want something to sip on while you wait for the cloak to matter :P)
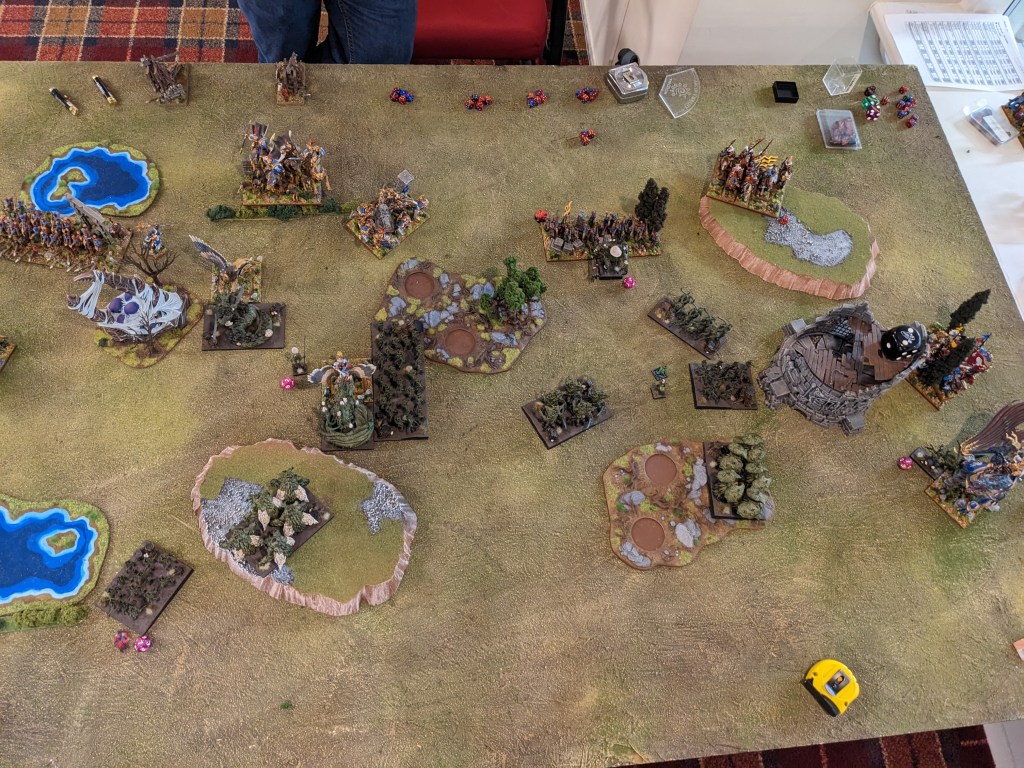
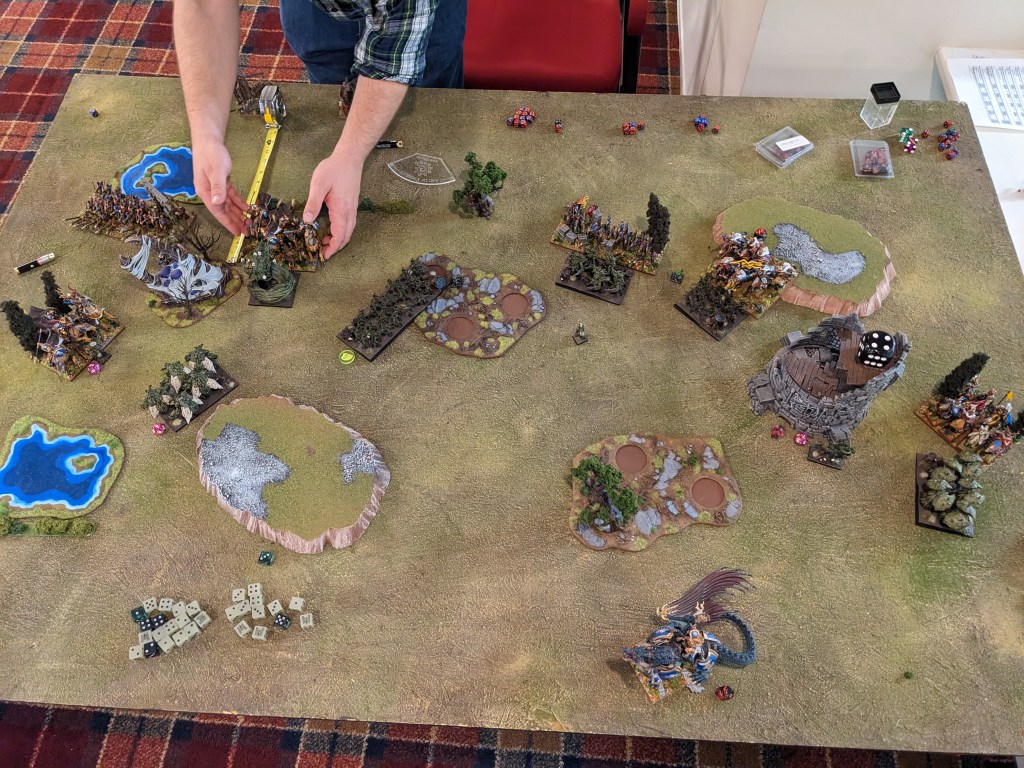
GAME 1: FORCES OF THE ABYSS

Molochs Horde – Despoiler Champion
Molochs Horde – Despoiler Champion
Molochs Horde – Despoiler Champion
Tortured Souls Regiment
Abyssal Ghouls Regiment
Abyssal Ghouls Regiment
Abyssal Ghouls Regiment
Gargoyles Troop
Gargoyles Troop
Abyssal Fiend – Fireball (10)
Abyssal Fiend – Fireball (10)
Chroneas
Chroneas
The Well of Souls [1]
Abyssal Warlock – Staying Stone, Knowledgeable, Celestial Restoration (3)
Seductress – Gnome Glass Shield
16(25)
I hadn’t played Brian in quite some time and wasn’t sad to face him off the rip. His Abyssals looked great, with a very cohesive scheme and almost entirely Mantic, including possibly the only official Tortured Souls I’ve seen in person. As the list went, it was basically perfect. Top flight Abyssals for Summer 2023 with no fat on it. The Celesto Resto was an interesting touch but Brian knew that the Molochs were the lifters and they didn’t really need any help beyond arriving alive.
We played Raze, with the Hallow going first, as is my want.
BATTLE
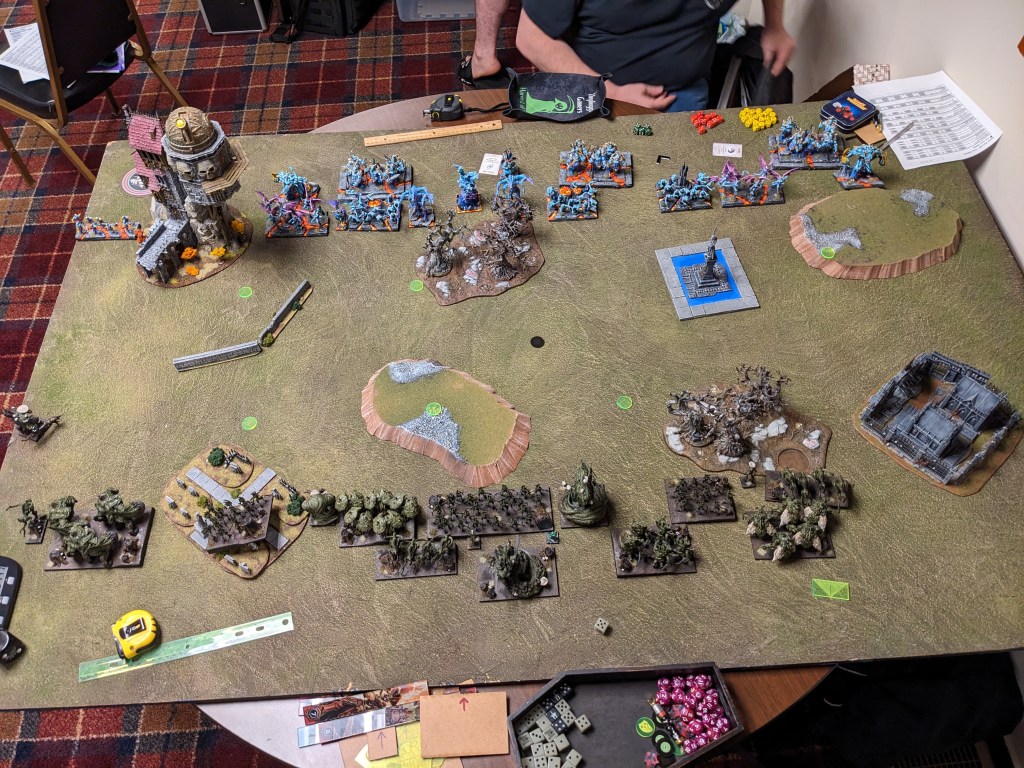

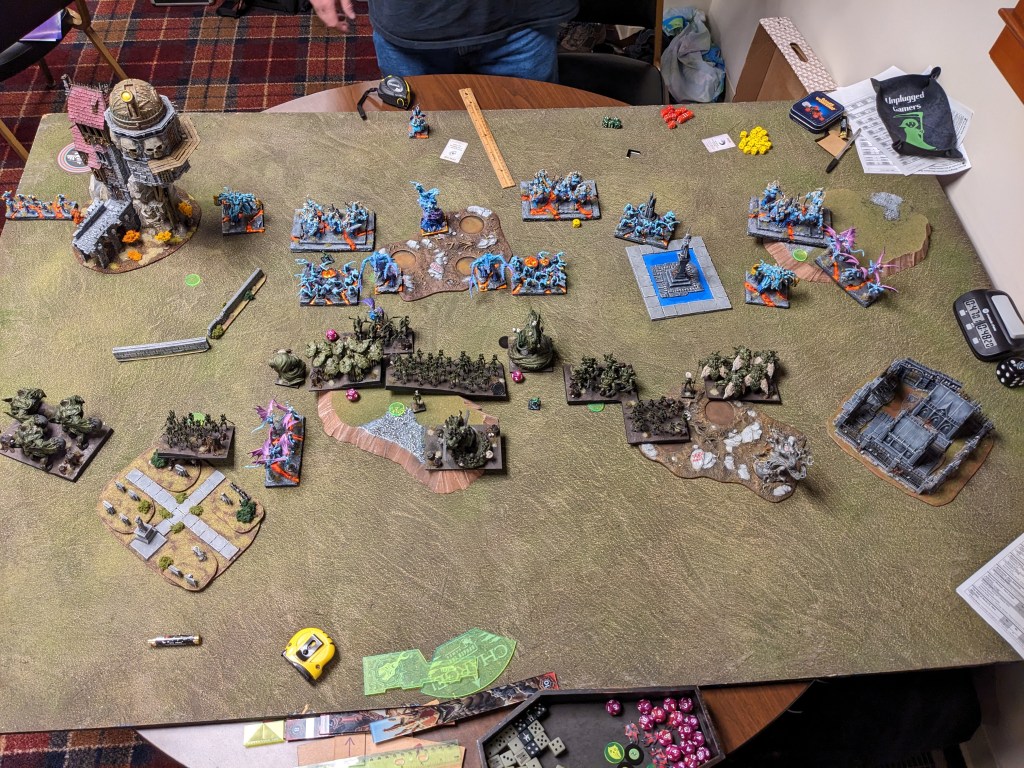


I won’t bury the lead on this one: I clocked out on Turn 4. My game of positioning and piece trading took way too long to get moving (45 min spent on Turn 1+2), which didn’t leave me enough time to actually execute with my hammers. Despite me being firmly in control of this match, Brian had a cushy 19 minutes to decimate my dudes, who were now disastrously rooted in place, only allowed to turn to face.
HALLOW LOSS
Rough start to the weekend to say the least! Sorry to Brian for the poor time management on my part.
GAME 2: ORDER OF THE BROTHERMARK

Order of the Abyssal Hunt Regiment – Blessing of the Gods
Order of the Abyssal Hunt Regiment – Boots of Striding
Paladin Knights Regiment – Brew of Strength
Paladin Knights Regiment – Blood of the Old King
Paladin Knights Troop – Skirmisher’s Boots
Oathsworn Guardians Regiment [1]
Villein Bowmen Horde
Villein Bowmen Horde
Heavy Arbalest
Heavy Arbalest
Phoenix – Heal (5)
Phoenix – Heal (5)
High Paladin on Dragon – Blade of Slashing
Exemplar Hunter – Order of the Lone Wolf, Mace of Crushing
Priest – Conjurer’s Staff, Heal (3), Bane Chant (2)
15(25)
Mr. Kevin Spear, everyone! Always a pleasure and his army is a joy to look at. He was back on Brothermark from Rhordia last year (we played in a Round 1 grudge match as you’ll recall), with quite a bit more shooting thanks to the Phoenix buffs and everyone discovering that Arbalests are rather legit (the Bowmen were always there). If it wasn’t shooting, it was charging 16″ / 20″ into my waiting arms. I remember not feeling like I had the brainpower to stay in control of this one …
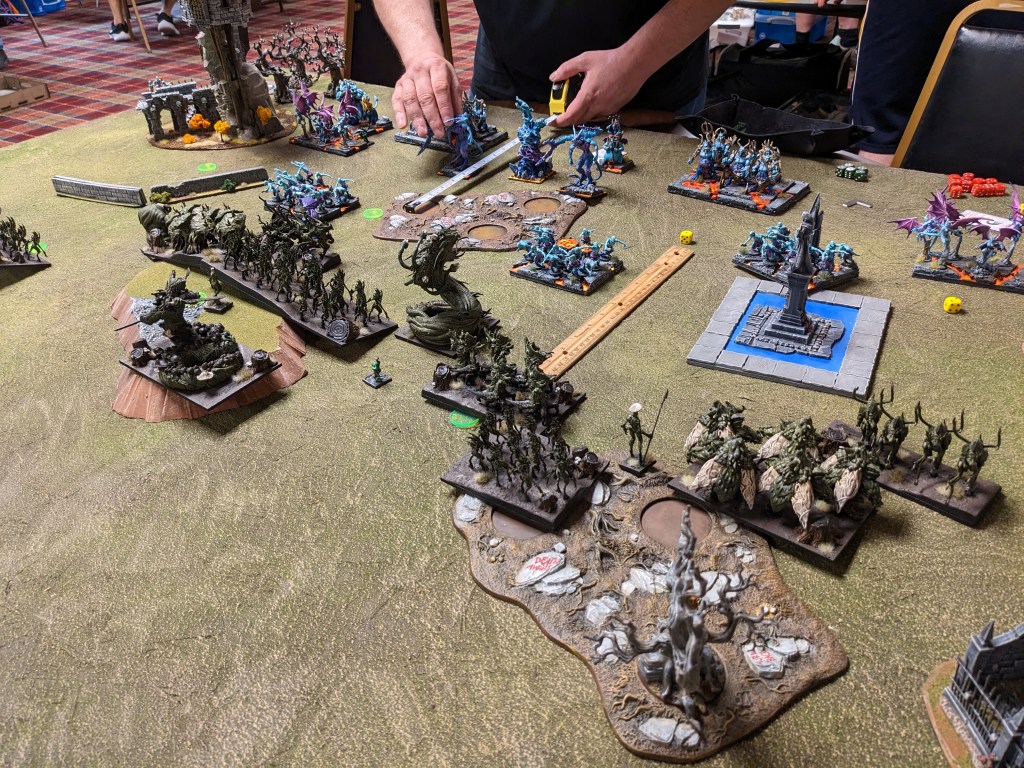
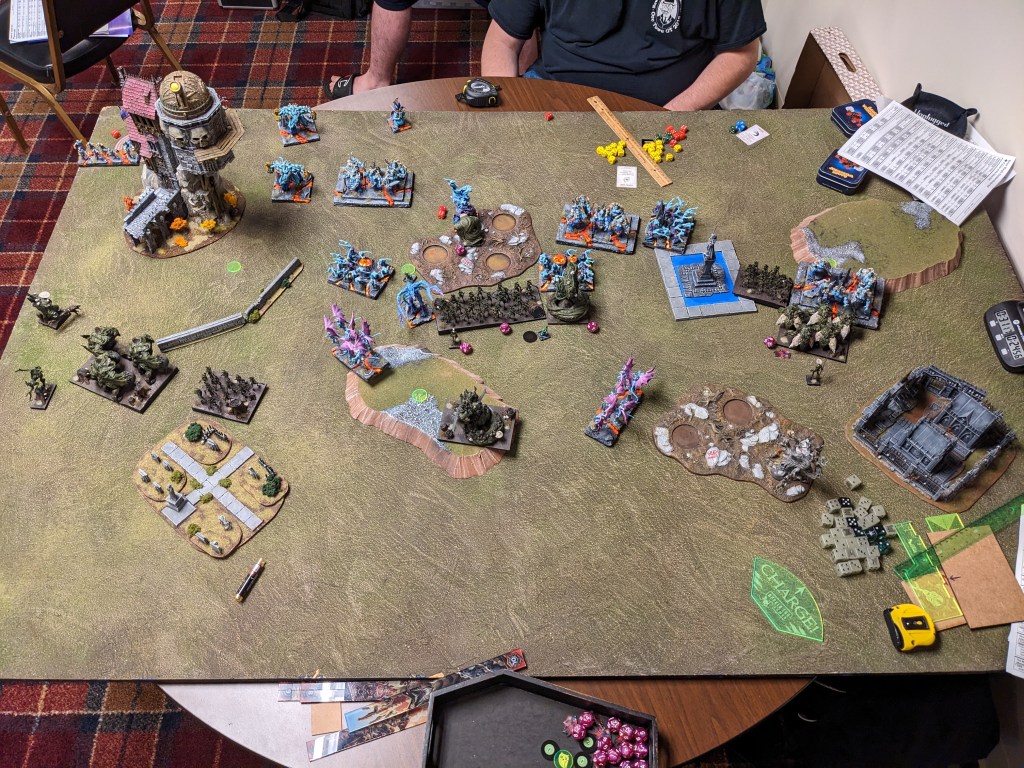
We played Control, with Kevin going first. Last turn is good for grabbing board sections, right? Here’s hoping I have an army left 🙃
BATTLE


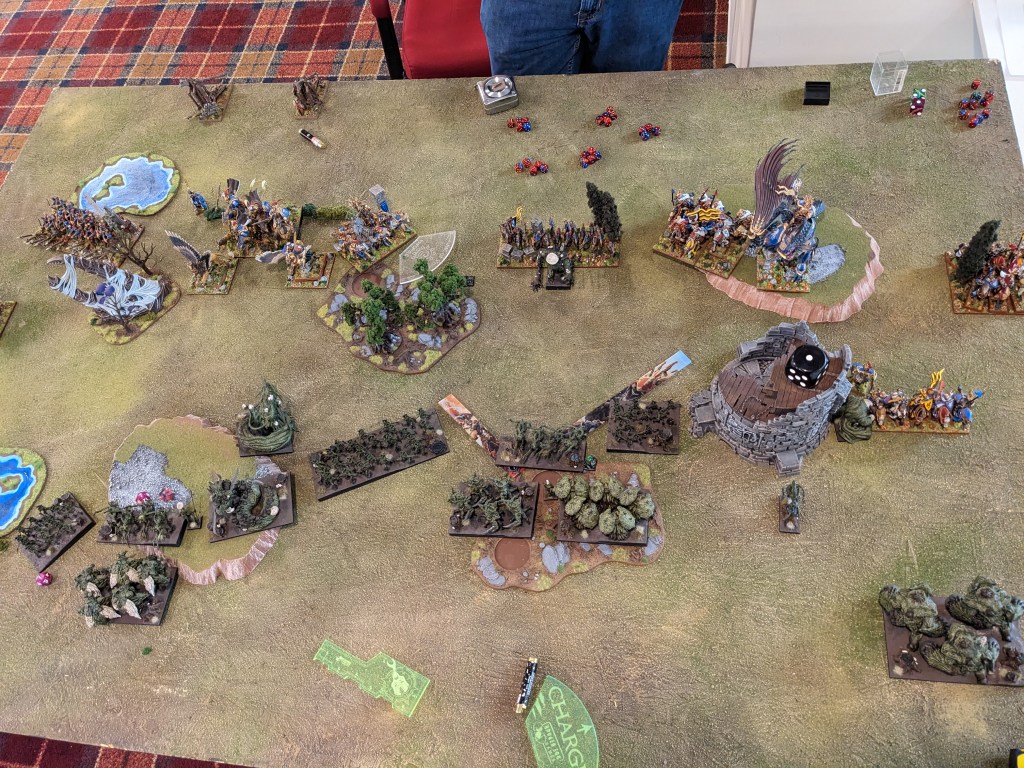
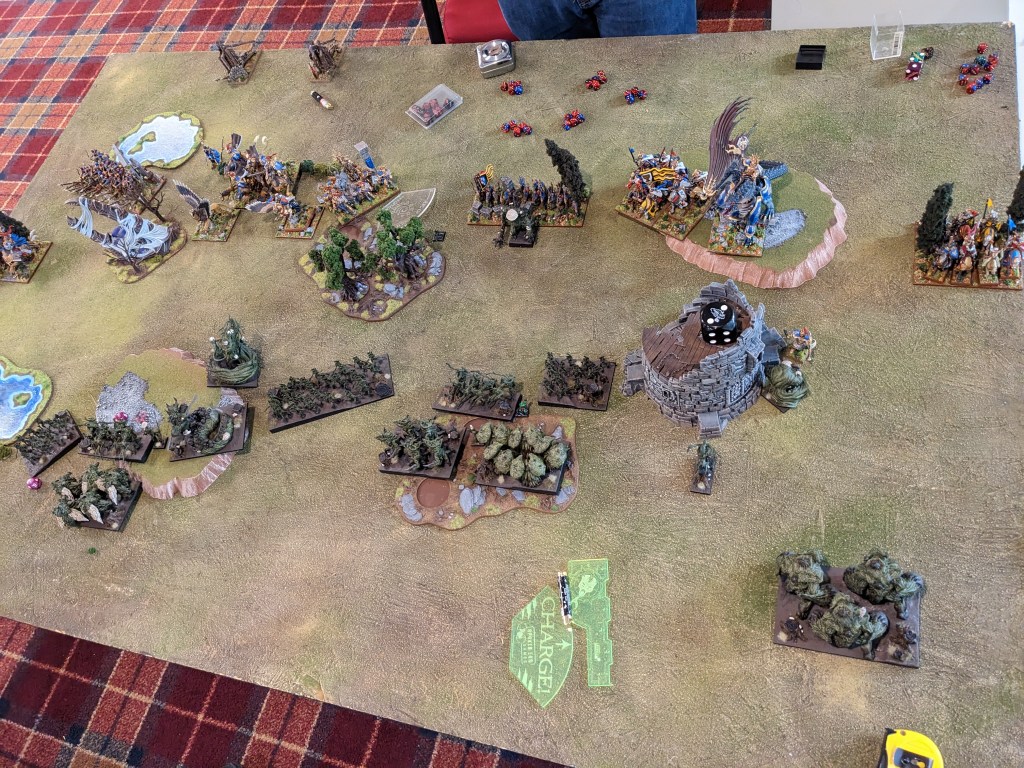

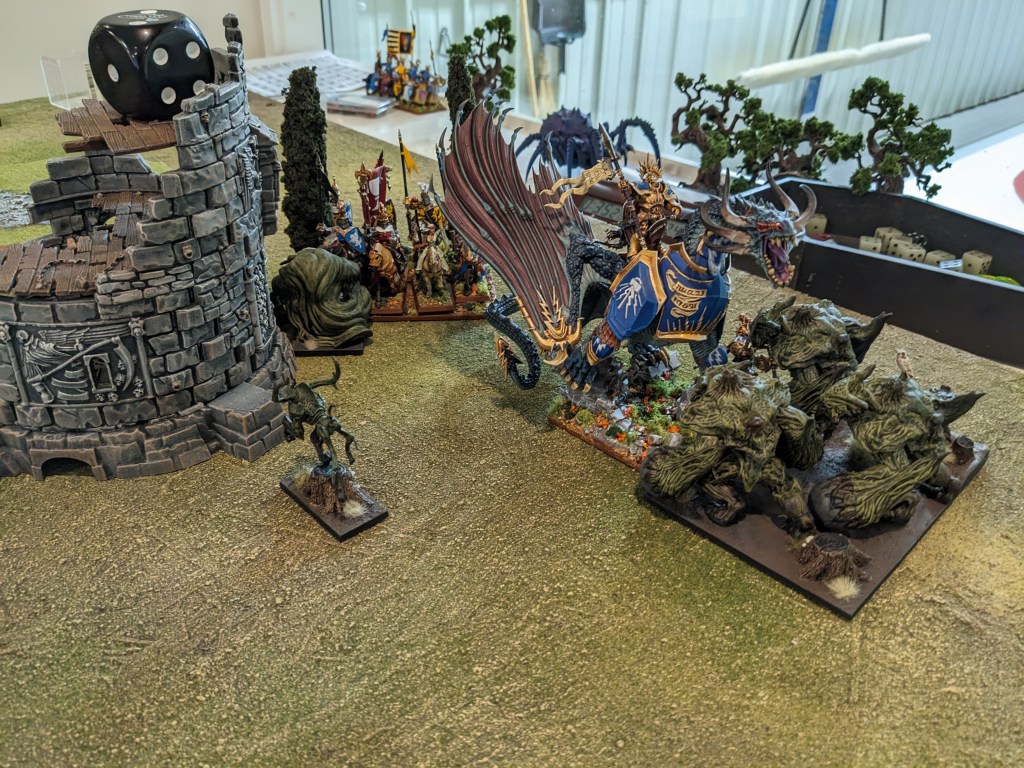
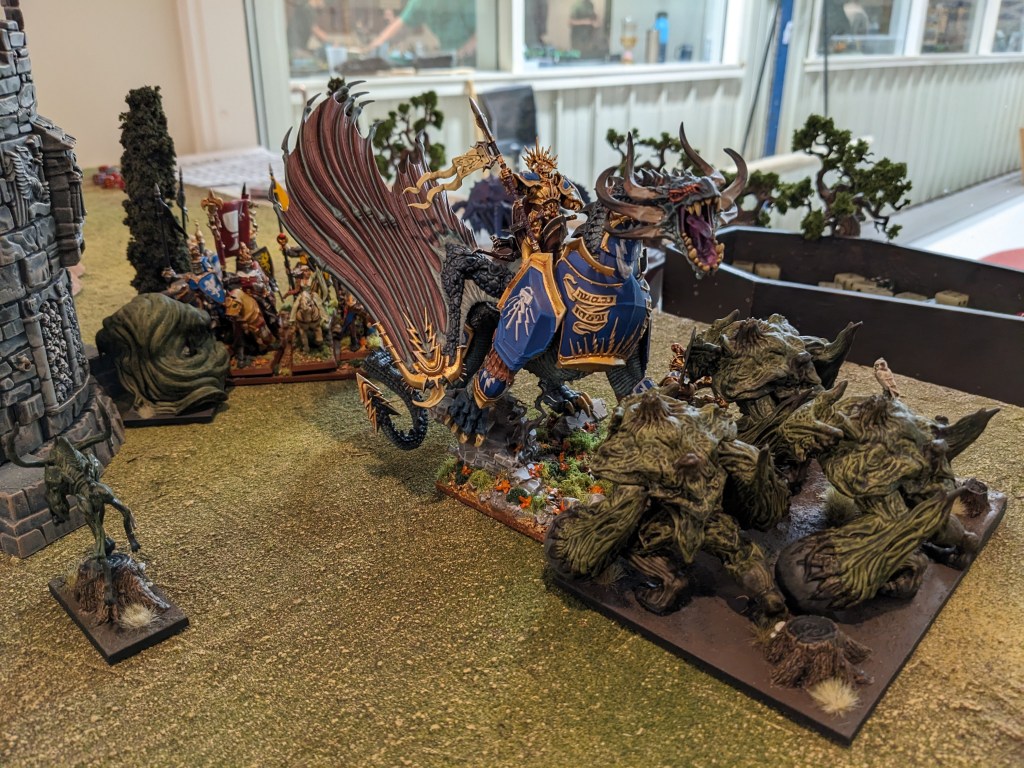


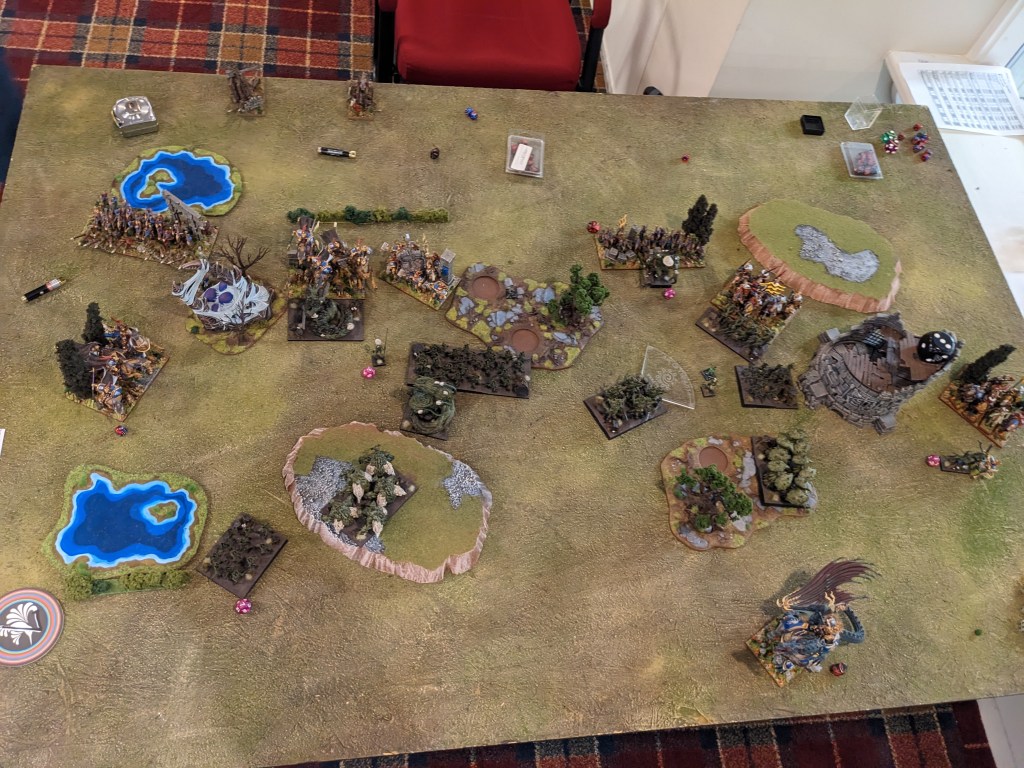

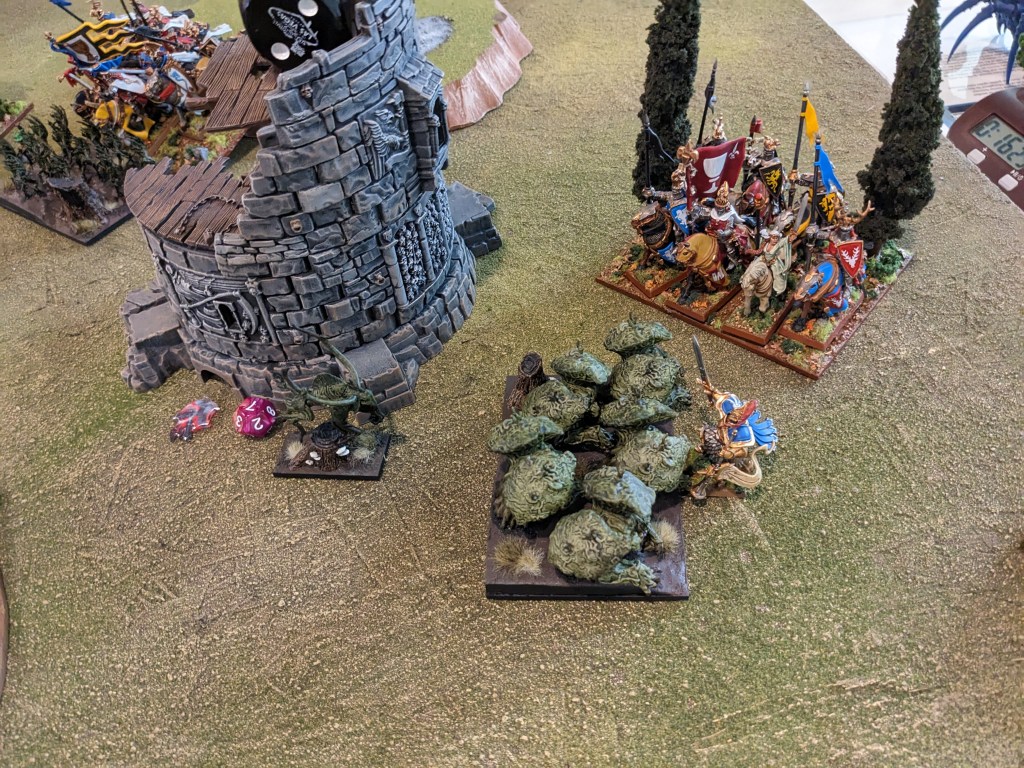

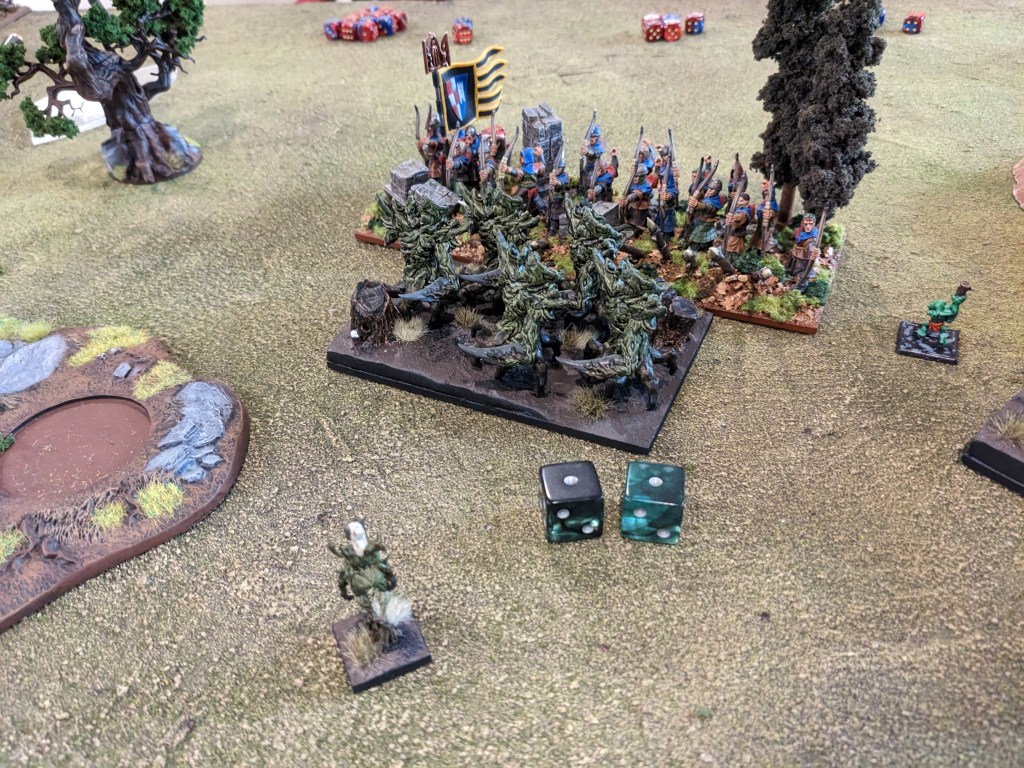


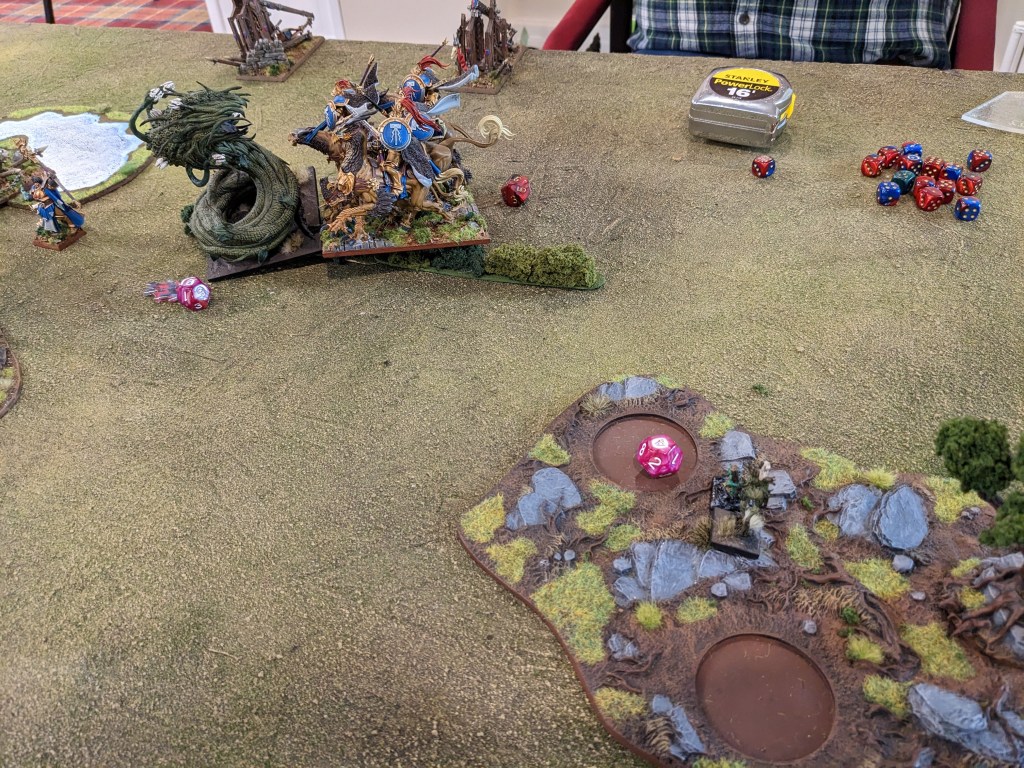
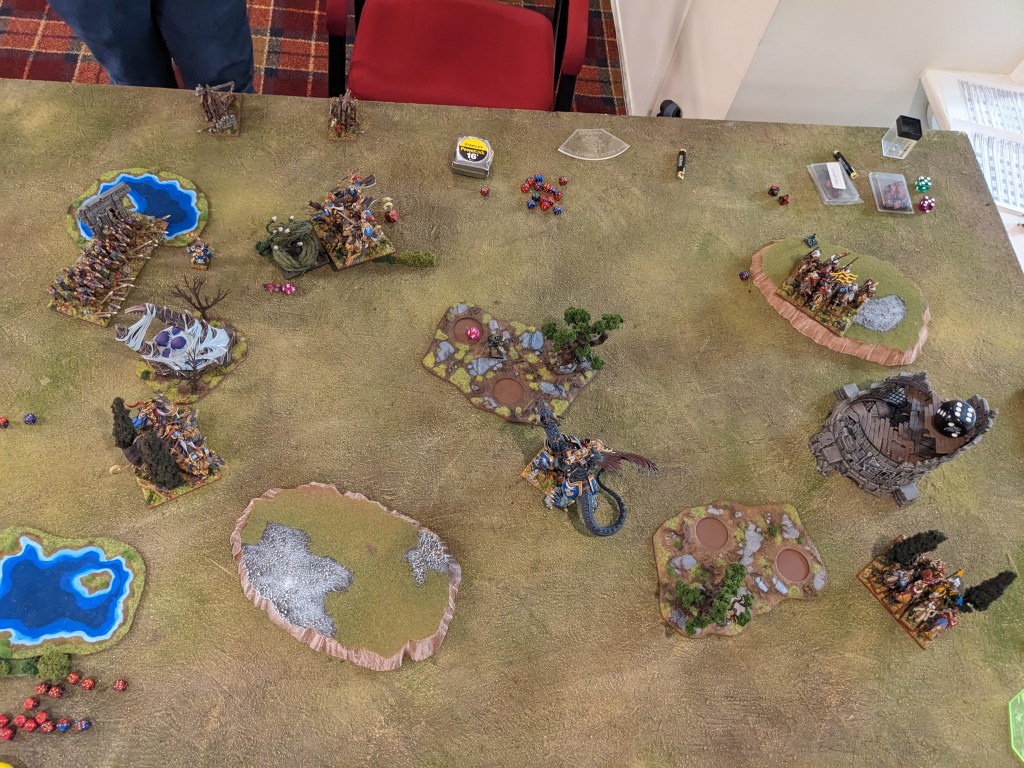
This was a particularly rough second game. Losing the initiative and having my left Centaurs wavered held up my left flank quite badly, and you can see the moments where luck slapped my Brutes down. On the right, I failed a 3″ overrun off his Exemplar Hunter into a knight regiment, losing the Brutes next turn. In the center, I snaked a rout into peasants with more Brutes, losing the momentum and eventually that unit to Kevin’s dragon … although it’s very strange I didn’t rotate to put the dragon in their front? I’m guessing this is the moment I clocked out ![]() Because that also happened, tho going into Turn 6 this time. Hydra lived at least!
Because that also happened, tho going into Turn 6 this time. Hydra lived at least!
HALLOW LOSS
Going into this I felt like we were pretty well matched? Kevin and I are at similar skill levels and our armies have interesting answers to each other, but he grabbed the initiative and I couldn’t wrest it away from him, between wavers, losses to shooting and some floppy combats that I needed to go my way. Clocking out again didn’t help.
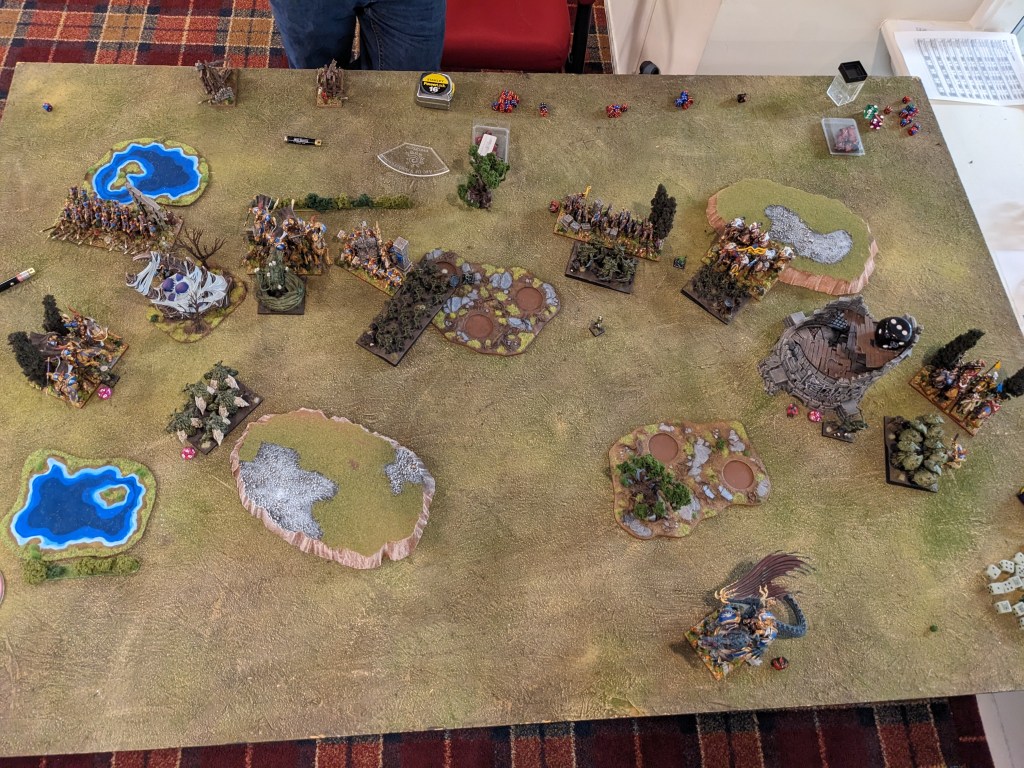
GAME 3: TRIDENT REALM
Gigas Horde
Gigas Horde
Depth Horrors Horde
Depth Horrors Regiment
Thuul Regiment
Thuul Regiment
Riverguard Treeleapers Troop
Riverguard Treeleapers Troop
Tidal Swarm Regiment
Kraken
Knucker
Knucker
Naiad Centurion – Trident of the Drowned Sea [1]
Thuul Aquamage – Rising Tides, Icy Breath (10), Barkskin (5)
Naiad Envoy – Horn of Ocean’s Fury, Bastion (2)
*The Hidden Ones Regiment [1]
*The Hidden Ones Regiment [1]
*Ineesha [1] – Bane Chant (2)
18(29)
Surely this wasn’t the first time I’ve played Chris and his fishpeople? Soft spoken gent and a canny player, I’ve enjoyed chatting with Chris at basically all the NE events since he started coming to them. As for the list, it seems legit. As with most pre-2024 TR lists, the goal is to buff and deliver Thuul where needed, with a backbone of Gigas and sneaky problem solvers in the Knuckers and trident Centurion. Essentially everything ensnares, so I’d have to flex my dice rolling skills. (Ed. note: These skills had apparently not made it to Cape Cod yet.)
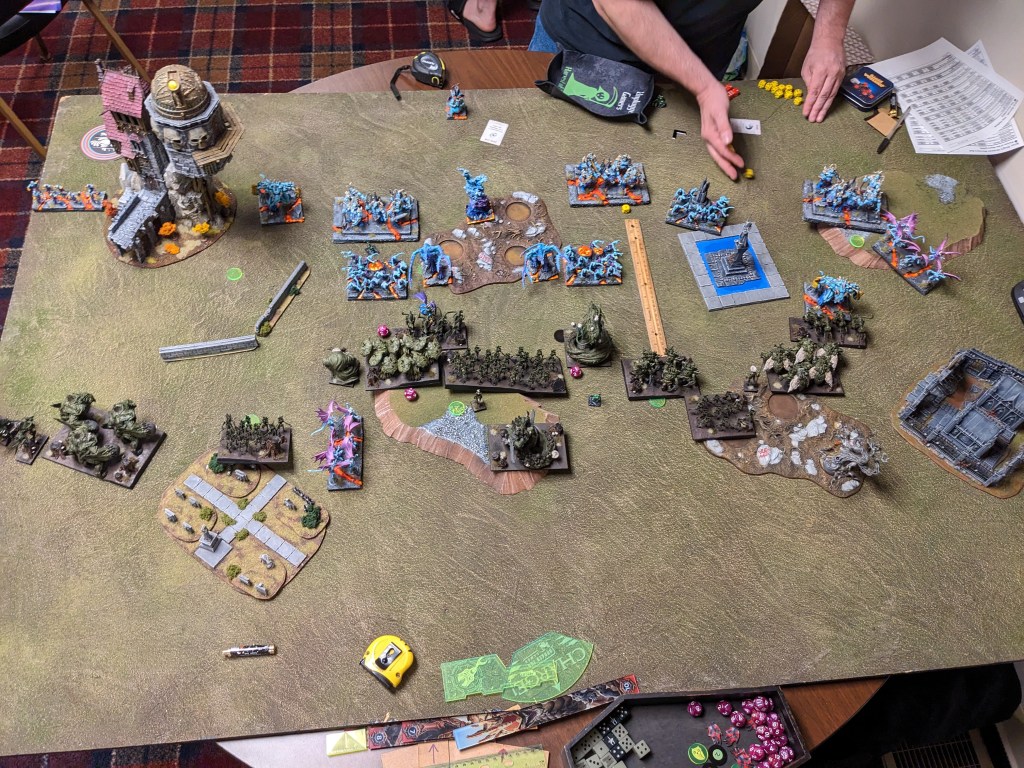
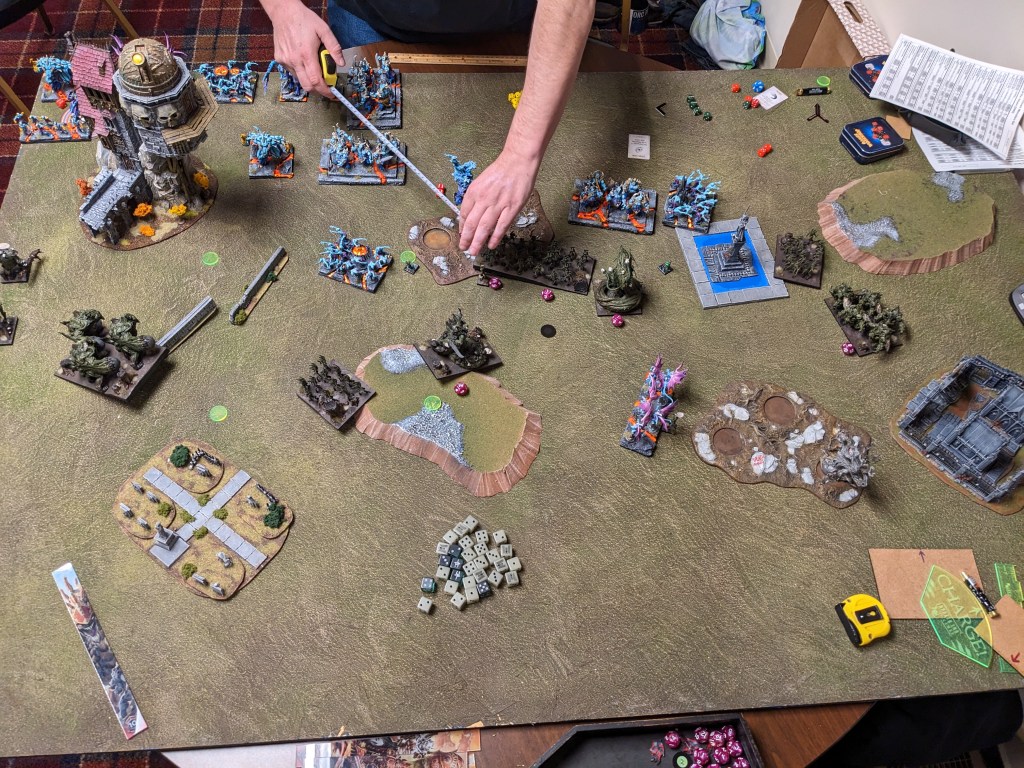
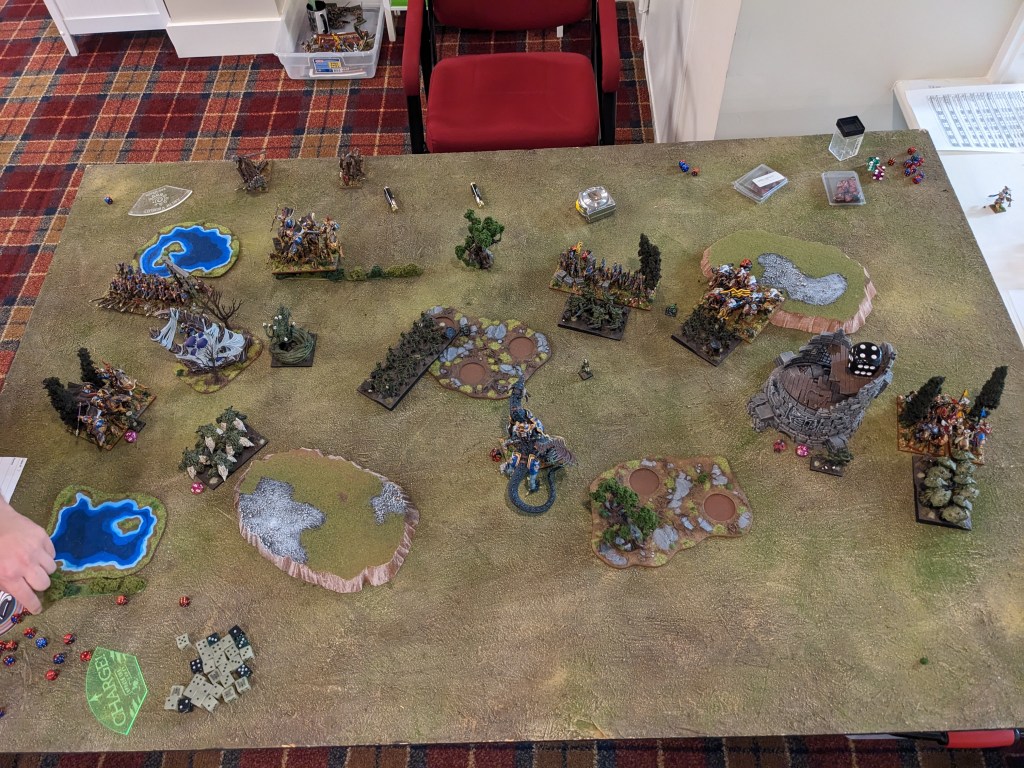
We played old school Loot, with the Herd going first. At least I’ve got that going for me.
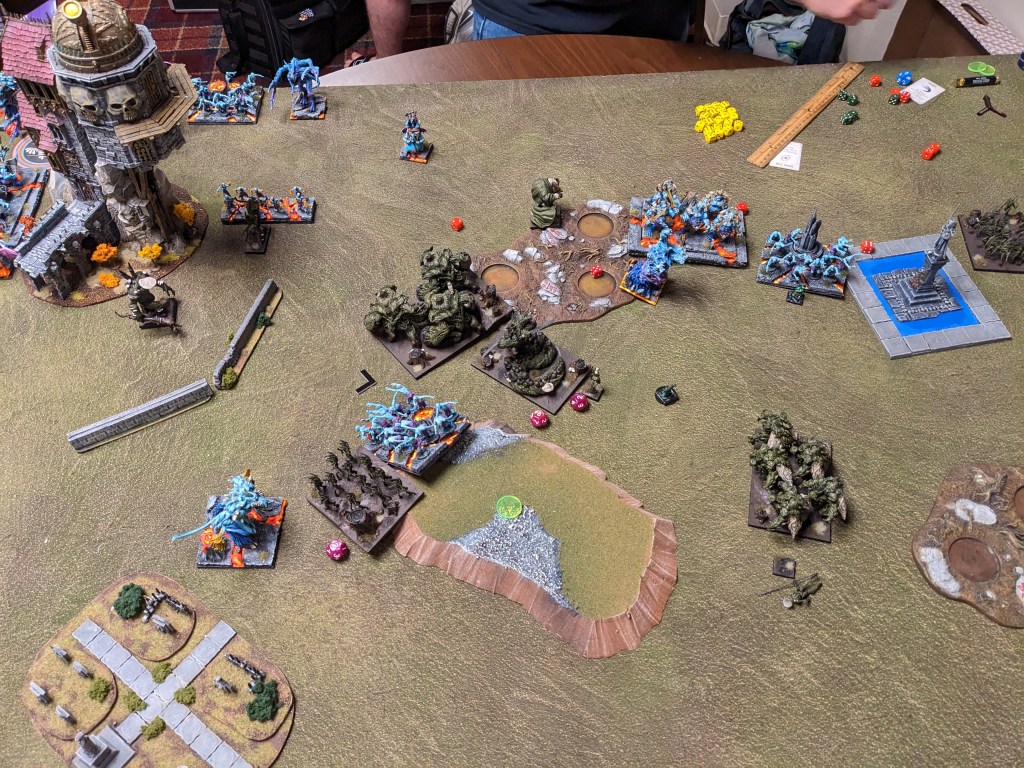
BATTLE


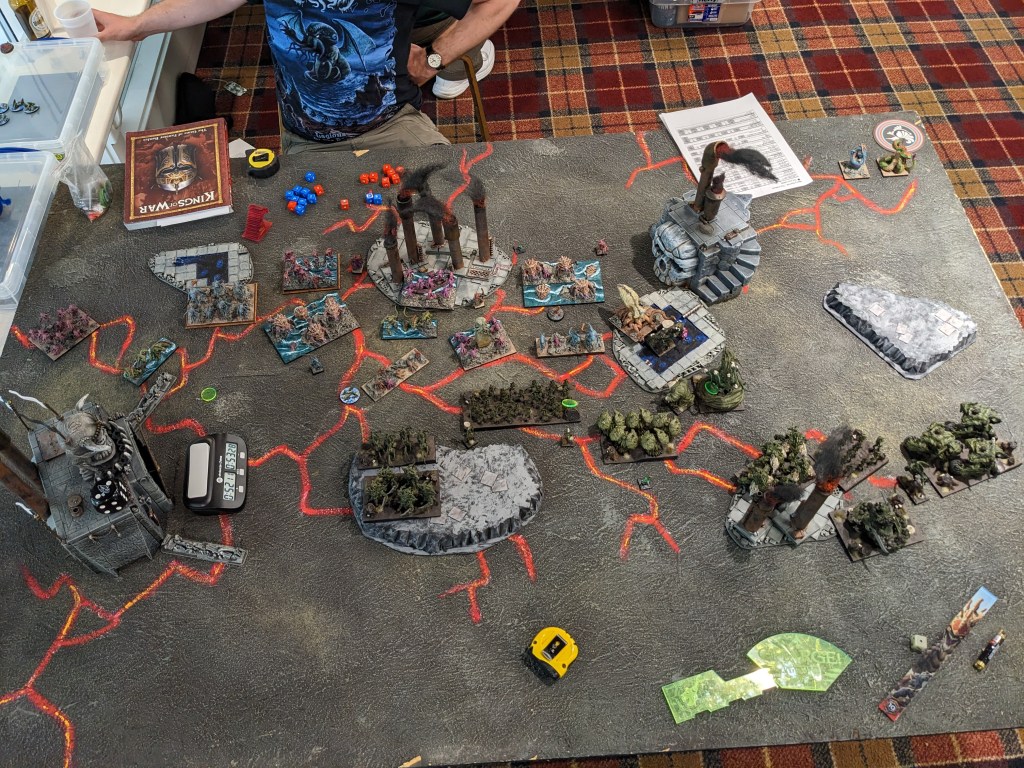
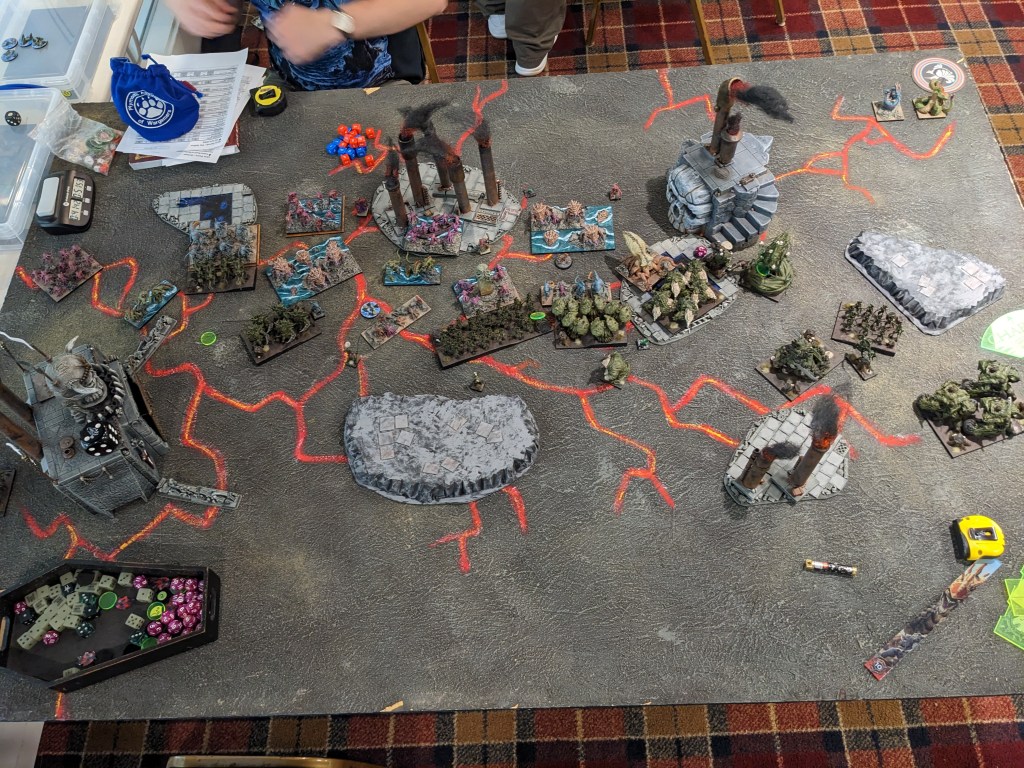

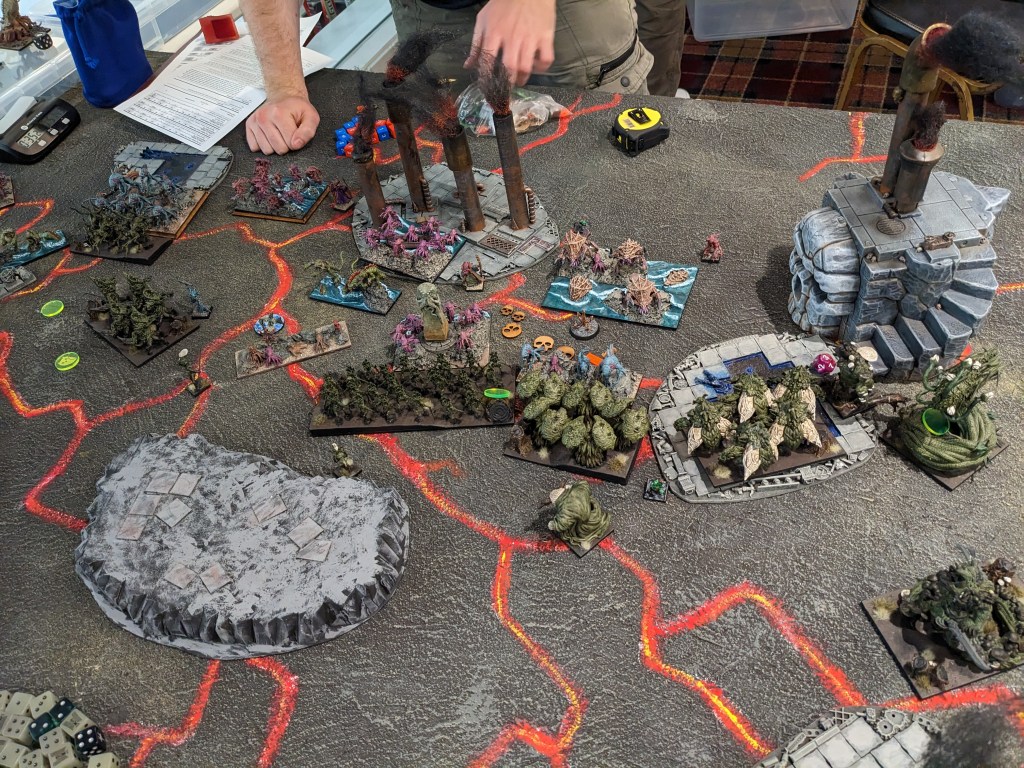


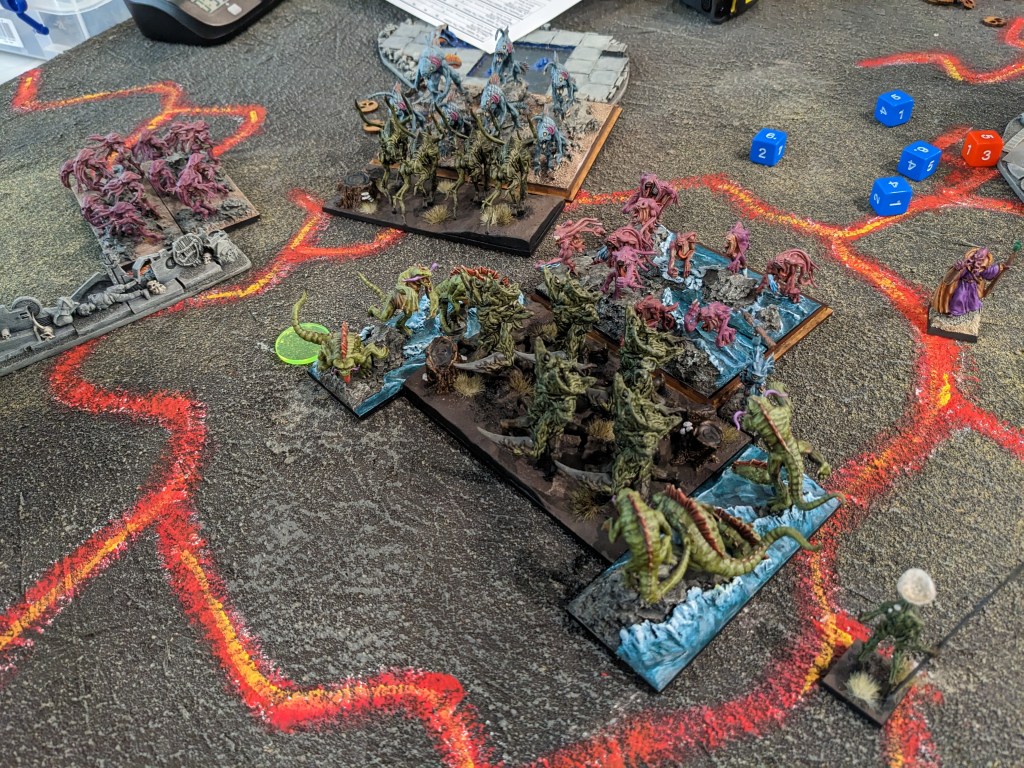


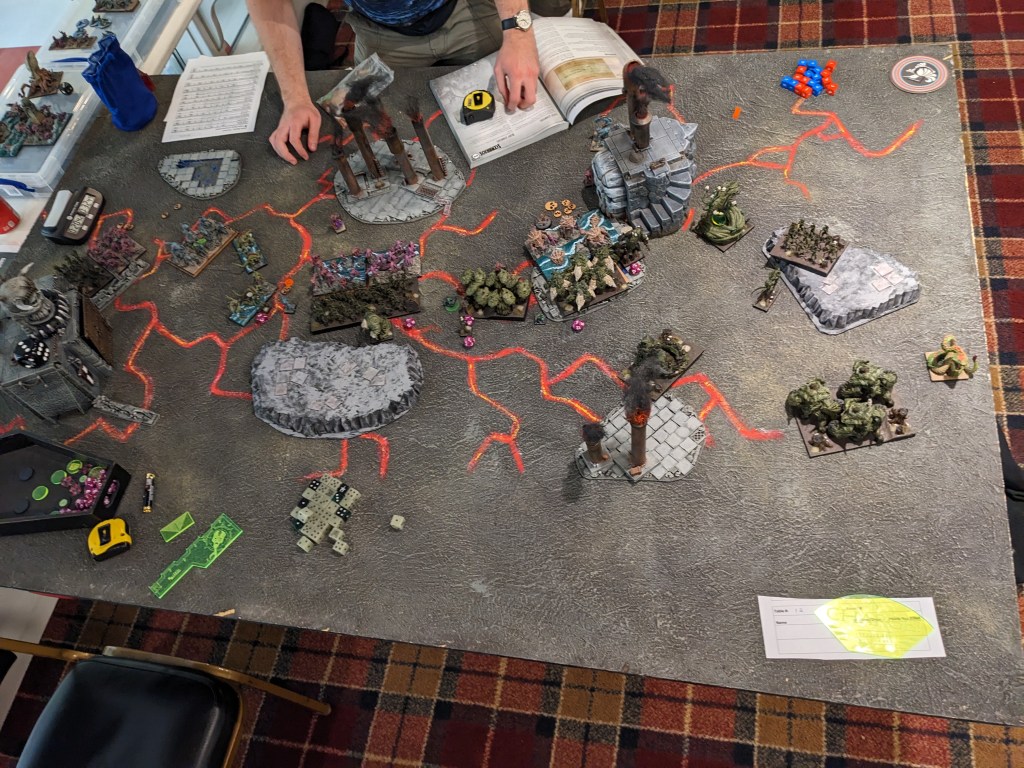
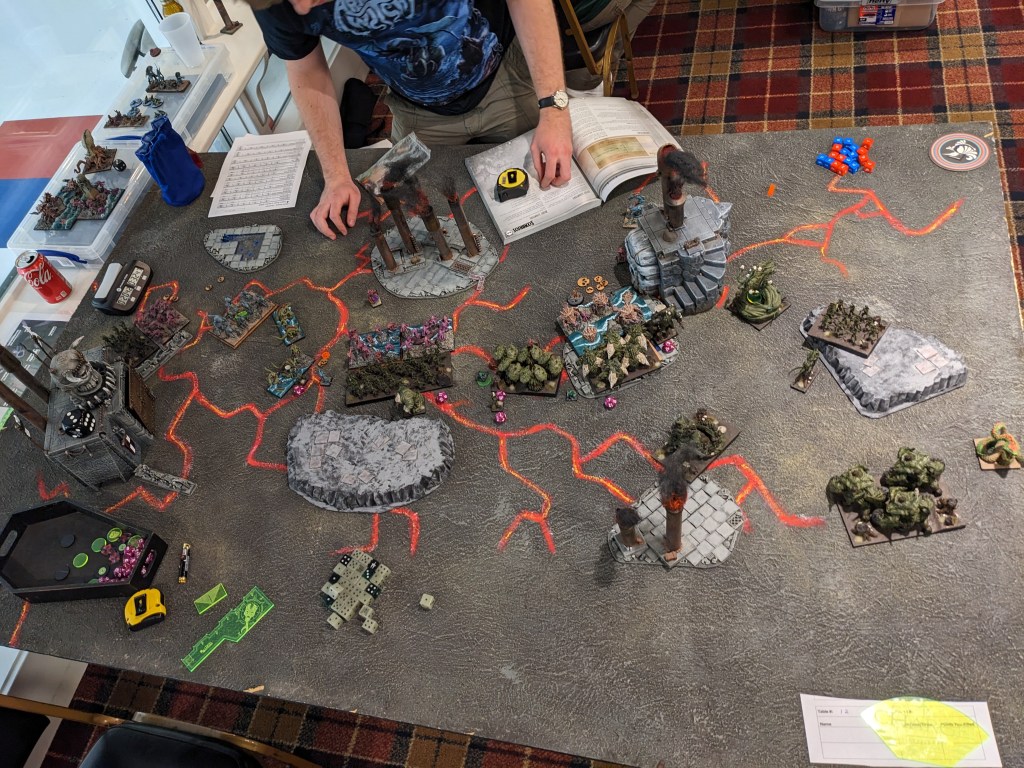


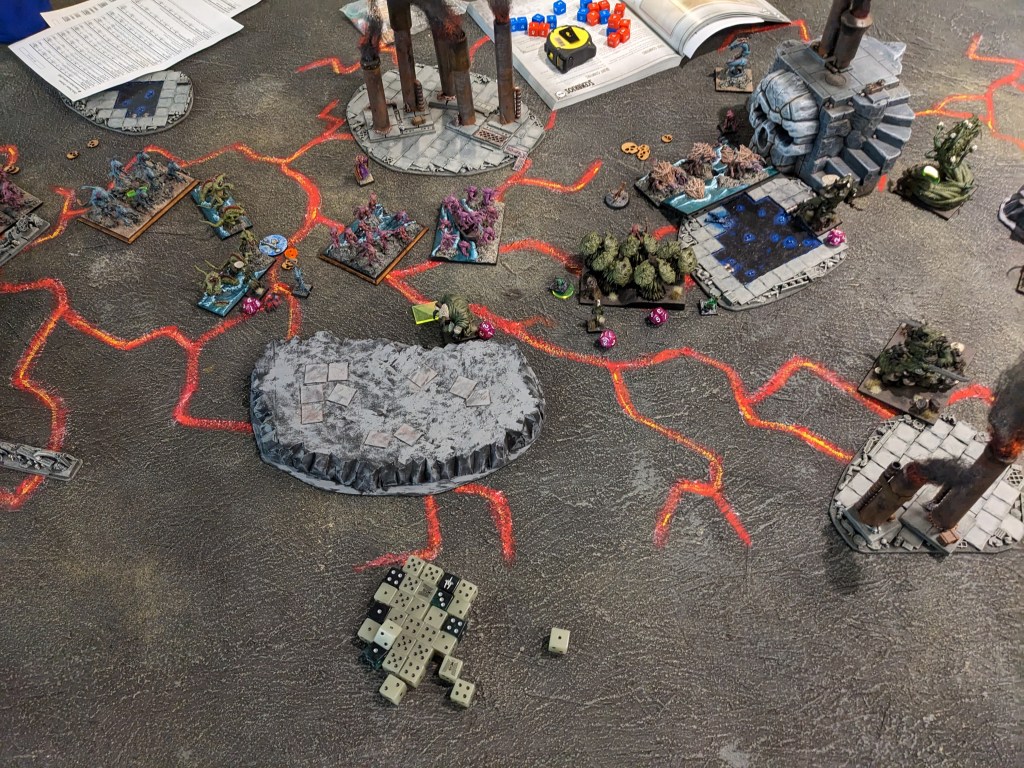


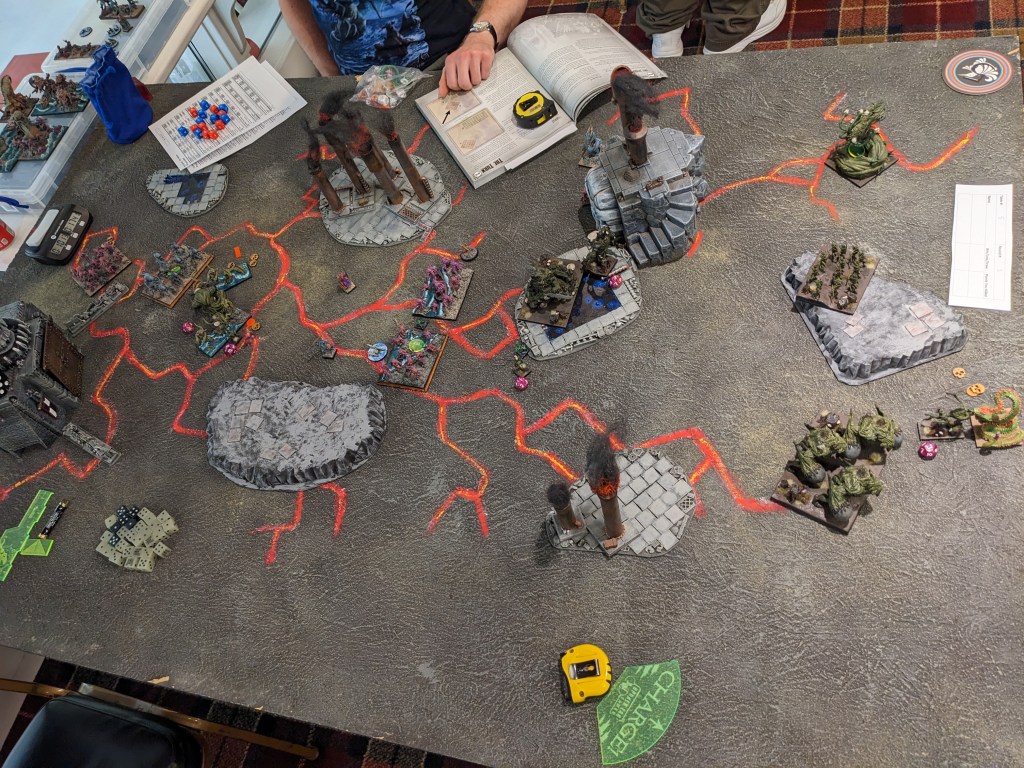

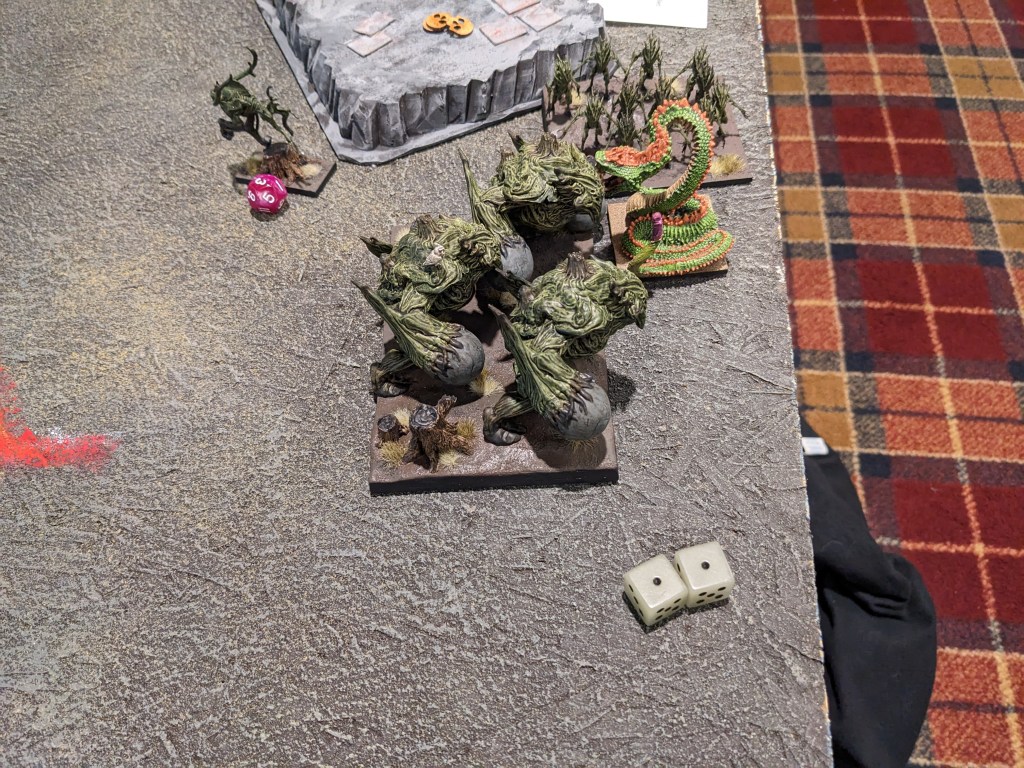


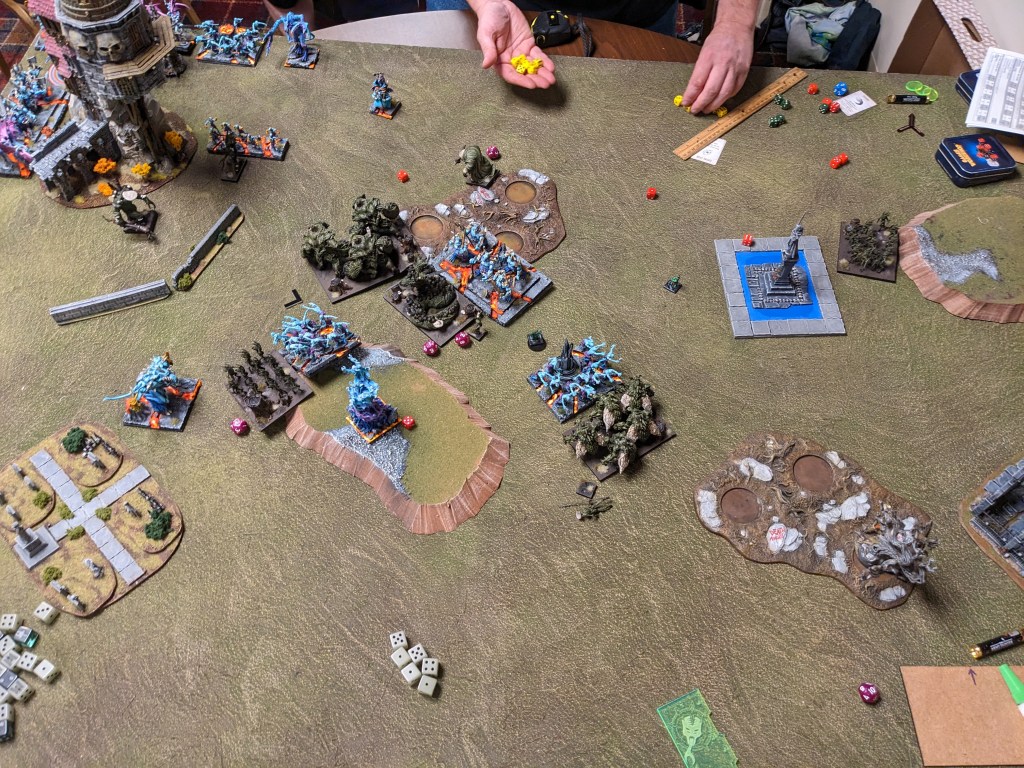
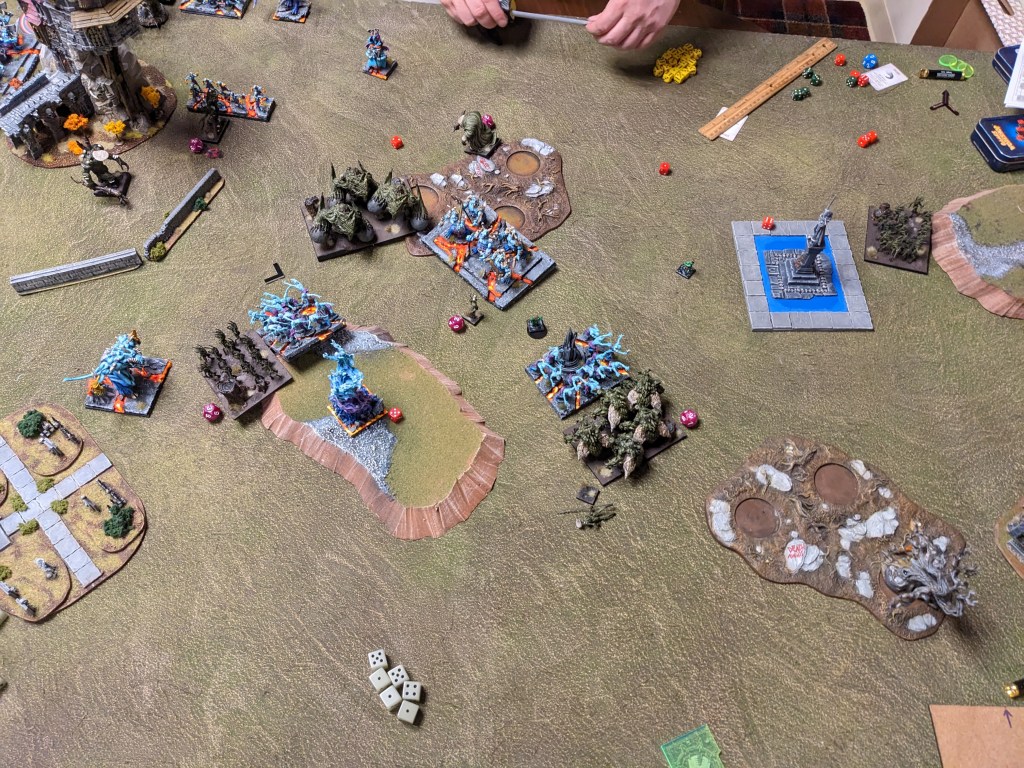
Walking through my photos, you can see that basically everything took an extra turn to break – Brutes hitting on 5+ are significantly less great, and I was relying on them to carry me through the tournament. Plus there was that one snake eyes once the Stampede trapped a Knucker against the board edge 😛 Anyway, my Hydra grabbed a token and slithered away to hold onto it (doing his one damn job like a professional token holder), while Chris’ Depth Horror horde was handed the left token and was never really in any danger of losing it. Which meant we were fighting for the center token. I grabbed it immediately with my Tribal horde, and had it in control until very late game when the waves of Thuul wore my Tribal spears and then Brutes down. The Thuul weathered my Lycan horde’s late game dive thanks to layer upon layer of barkskin, clinging to life and winning Chris the game.
HALLOW LOSS
Fun fact, I actually clocked out this game too 😅 I had enough to launch the Lycans in and swing but not enough to roll any of the other extraneous combats going on. In retrospect, the clock played less of a role than I gave it credit for in my second two games of the day, but I was definitely scrambling throughout.

So! At Orc Town 2022 I went 2-0-1 the first day with my crabs, ending the day in the nosebleeds of fourth place. Day 1 of Orc Town 2023 saw me 0-3-0 with Herd and literally in last place … but you know what, the bartenders were great and propped up my flagging spirits with plentiful glasses of Orcto Cooler, one of the tastiest damn hangovers I’ve had the pleasure of drinking too much of 💚
UP NEXT: Day 2! The only way to go is up!


 Kraken have really limited access to the High Paladin, so instead they hit the mangled Paladin Knights and aim to one round the Skirmishers. I point a lot of guns at the dragon.


